The Founder’s Guide:
How to Install the Jupyter Notebook Server in WSL2
The condensed tutorial with instructions and screenshots

The expanded version of this article explains each step with enough detail to learn what’s happening.
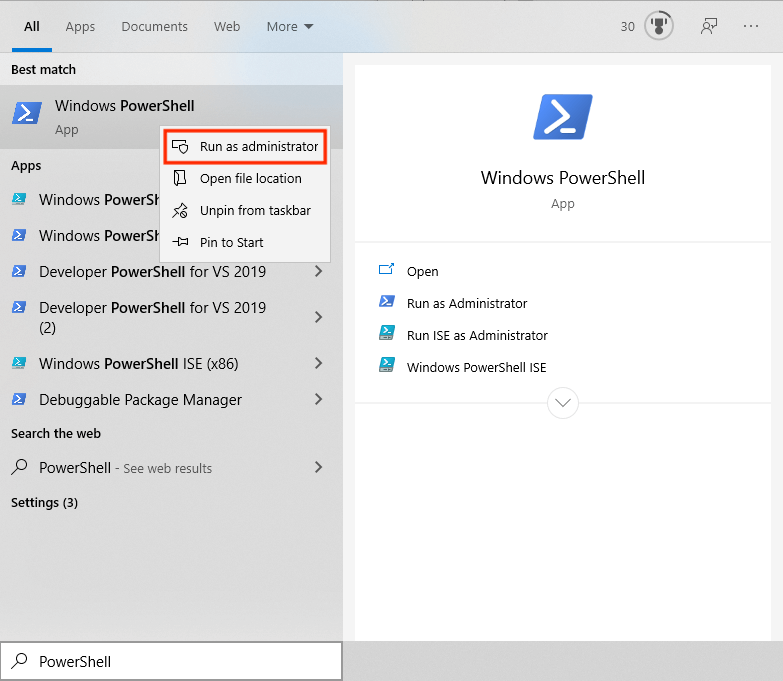
Open PowerShell:
- Press “⊞ Windows”
- Enter “PowerShell” into the search bar
- Right-click “Windows PowerShell”
- Click “Run as Administrator”
Open WSL2:
- Copy the command from below these instructions
- Paste the command into PowerShell
- Press “Enter”
wsl
Install Jupyter Notebook:
- Copy the command from below these instructions
- Paste the command into PowerShell
- Press “Enter”
sudo pip install jupyter
Install the WebSocket Extension:
- Copy the command from below these instructions
- Paste the command into PowerShell
- Press “Enter”
sudo pip install jupyter_http_over_ws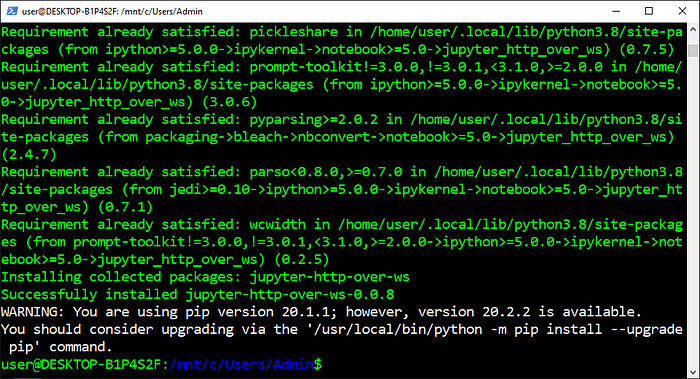
Create the Configuration File:
- Copy the command from below these instructions
- Paste the command into PowerShell
- Press “Enter”
jupyter notebook --generate-config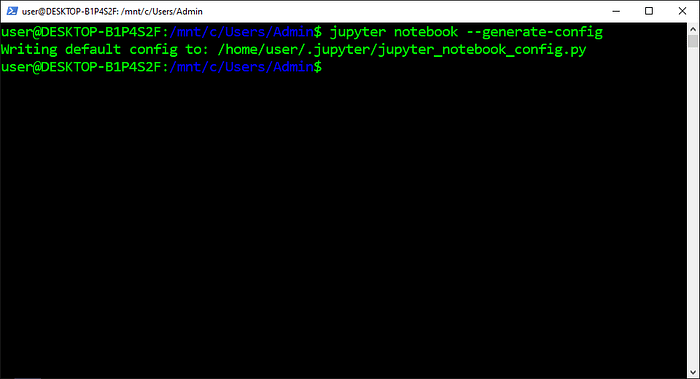
Open the Jupyter Directory:
- Copy the command from below these instructions
- Paste the command into PowerShell
- Press “Enter”
cd $HOME/.jupyter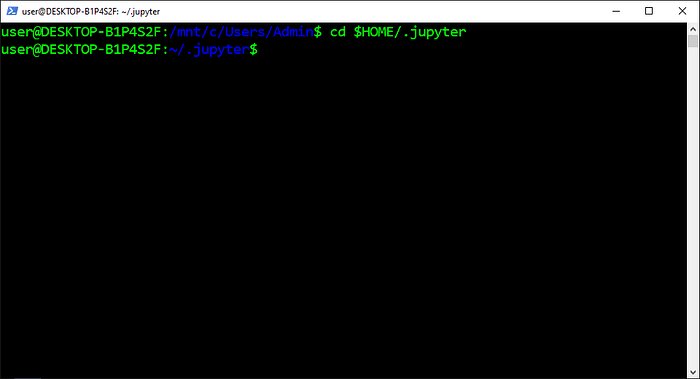
Create the SSL Certificate:
- Copy the command from below these instructions
- Paste the command into PowerShell
- Press “Enter”
- Enter “US” into “Country Name”
- Press “Enter”
- Enter “.” into the remaining fields
- Press “Enter”
openssl req -x509 -nodes -days 365 -newkey rsa:2048 -keyout mykey.key -out mycert.pem
Create the JSON File:
- Copy the command from below these instructions
- Paste the command into PowerShell
- Press “Enter”
echo "" > $HOME/.jupyter/jupyter_notebook_config.json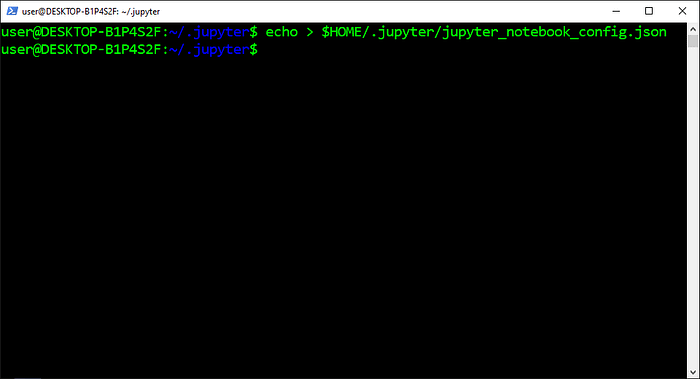
Open the JSON File:
- Copy the command from below these instructions
- Paste the command into PowerShell
- Press “Enter”
notepad $HOME/.jupyter/jupyter_notebook_config.json
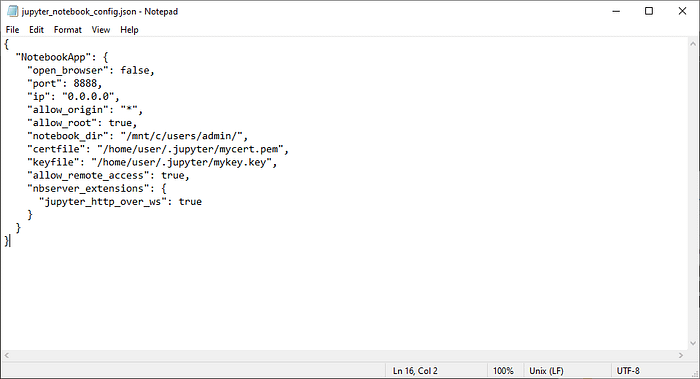
Edit the JSON File:
- Copy the JSON from below these instructions
- Paste the JSON into Notepad
- Change “Admin” to the Windows username
- Change “User” to the Unix username
- Click the “File” menu
- Click “Save”
Create the Password:
- Copy the command from below these instructions
- Paste the command into PowerShell
- Press “Enter”
jupyter notebook password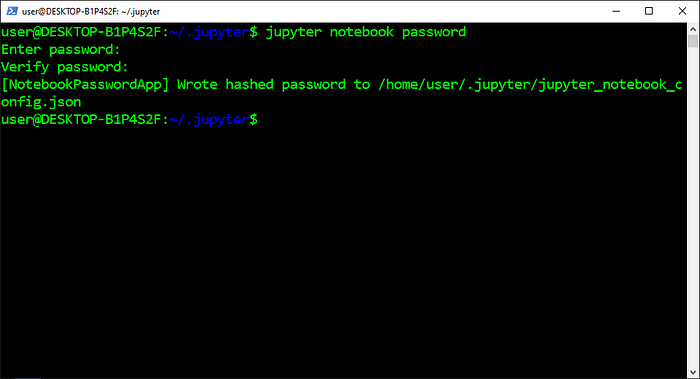
Open the Firewall Settings:
- Press “⊞ Windows”
- Enter “Windows Defender Firewall” into the search bar
- Click “Windows Defender Firewall”
- Click “Advanced Settings” in the left panel

Create an Inbound Rule:
- Click “Inbound Rules” in the left panel
- Click “New Rule…” in the right panel

Specify the Port:
- Select “Port”
- Click “Next”
- Select “Specific Local Ports”
- Enter “8888”
- Click “Next”

Allow the Connection:
- Select “Allow the Connection”
- Click “Next”

Complete the Inbound Rule:
- Check “Domain”, “Private” and “Public”
- Click “Next”
- Copy the name from below these instructions
- Paste the name into the “Name” text box
- Click “Finish”
Jupyter Notebook Server (WSL2)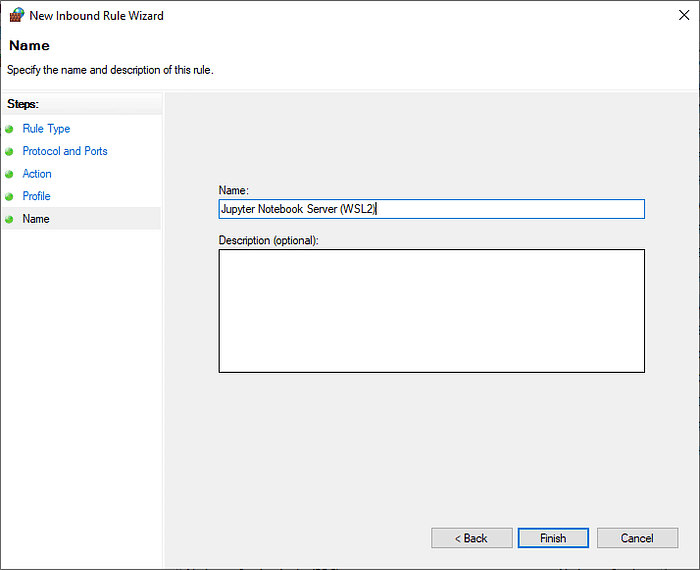
Exit WSL2:
- Copy the command from below these instructions
- Paste the command into PowerShell
- Press “Enter”
exit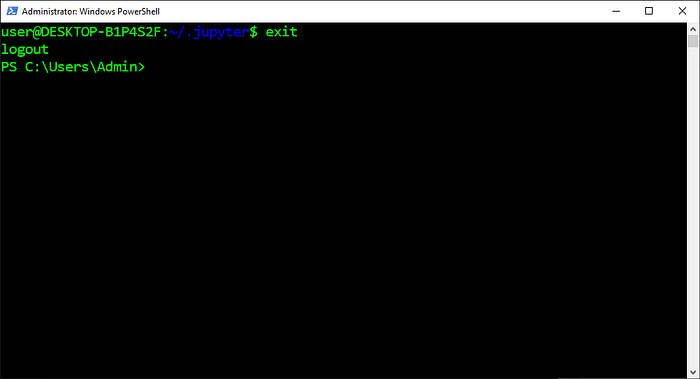
Change the Execution Policy:
- Copy the command from below these instructions
- Paste the command into PowerShell
- Press “Enter”
Set-ExecutionPolicy Unrestricted -Force
Open Task Scheduler:
- Press “⊞ Windows”
- Enter “Task Scheduler” into the search bar
- Click “Task Scheduler”

Create the Task:
- Click “Create Basic Task” in the right panel
- Copy the name from below these instructions
- Paste the name into the “Name” text field
- Click “Next”
- Select “When the Computer Starts”
- Click “Next”
- Select “Start a Program”
- Click “Next”
Jupyter Notebook Server (WSL2)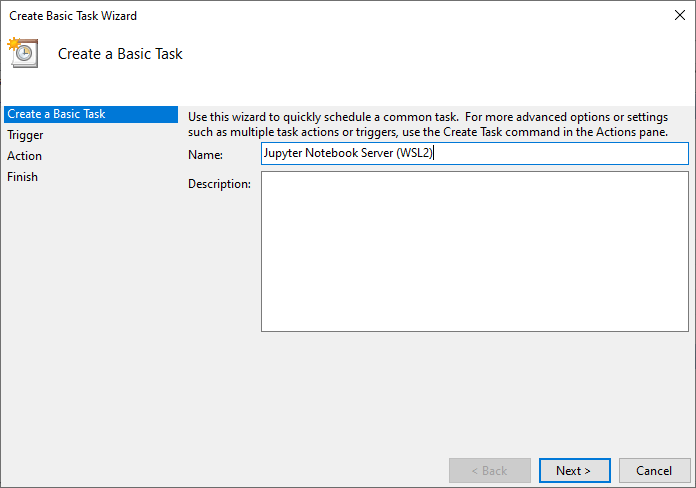
Specify the Action:
- Copy the path from below these instructions
- Paste the path into the “Program/Script” text field
- Click “Next”
- Click “Yes”
- Check “Open the Properties Dialog…”
- Click “Finish”
Ubuntu 20.04:
powershell.exe -windowstyle hidden -command "bash.exe -c '~/.local/bin/jupyter-notebook --config=~/.jupyter/jupyter_notebook_config.json'"Ubuntu 18.04: <----------
powershell.exe -windowstyle hidden -command “bash.exe -c ‘/usr/local/bin/jupyter-notebook --config=~/.jupyter/jupyter_notebook_config.json’”

Specify the Trigger:
- Click “Triggers” in the top tab bar
- Click “At Startup”
- Click “Edit”
- Check “Delay Task For”
- Enter “30 Seconds”
- Click “OK”

Run the Task as the User:
- Click “General” in the tab bar
- Check “Run With Highest Privileges”

Remove the Time Limit:
- Click “Settings” in the tab bar
- Uncheck “Stop the Task if It Runs Longer Than”
- Click “OK”
- Restart the computer

Log into the Router:
- Open the web browser
- Copy the router IP address from below these instructions
- Paste the router IP address into the web browser
- Press “Enter”
- Log into the router
The router IP address varies based on the router manufacturer.
192.168.0.1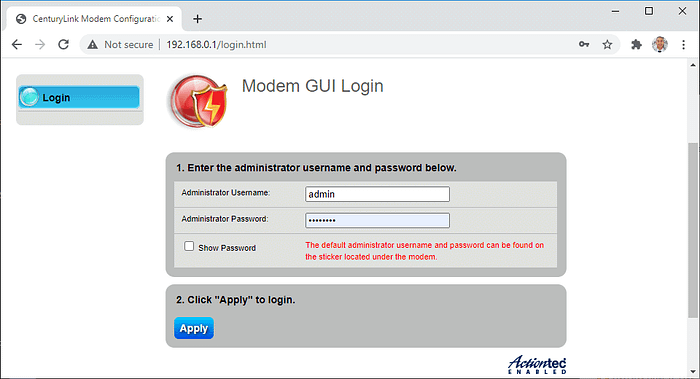
Set up Port Forwarding:
- Find the “Port Forwarding” page
- Paste the IPv4 address into the “Enter IP Address” text field
- Copy the port from below these instructions
- Paste the port into the “WAN Starting Port” text field
- Paste the port into the “WAN Ending Port” text field
- Select “All IP Addresses”
- Click “Apply”
8888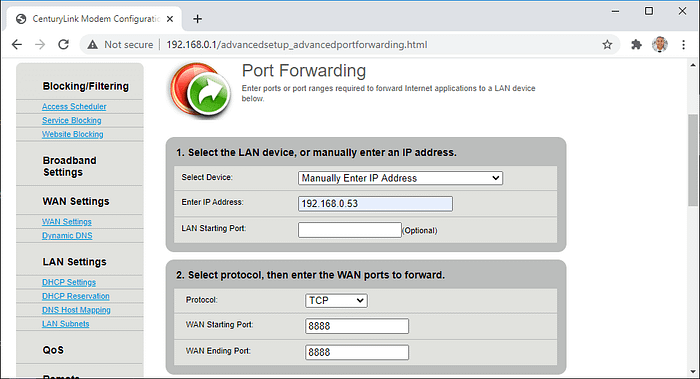
Get the Network Configuration Information:
- Reopen PowerShell
- Copy the command from below these instructions
- Paste the command into PowerShell
- Press “Enter”
- Write down the IPv4 Address, Subnet Mask, and Default Gateway.
- Write down the DNS Servers.
powershell.exe ipconfig /all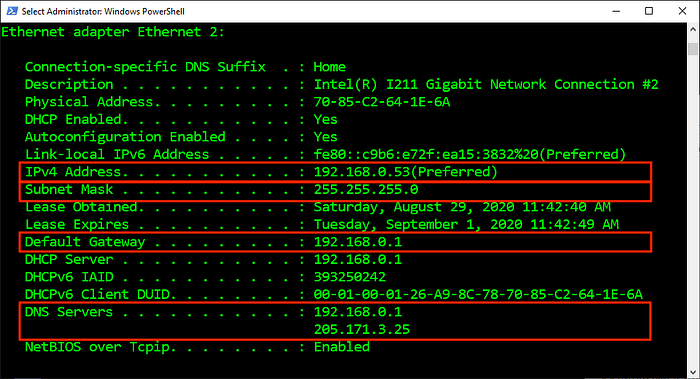
Open the Network Adapter Properties:
- Press “⊞ Windows”
- Enter “Network Status”
- Click “Network Status”
- Click “Change Adapter Options”
- Right-click the network adapter that’s connected to the internet
- Click “Properties”

Set the Static IP Address:
- Select “Internet Protocol Version 4 (TCP/IPv4)”
- Click “Properties”
- Select “Use the Following IP Address”
- Enter the TCP/IP information from earlier
- Select “Use the Following DNS Server Addresses”
- Enter the TCP/IP information from earlier
- Click “OK”

Install Net-Tools:
- Reopen PowerShell
- Copy the command from below these instructions
- Paste the command into PowerShell
- Press “Enter”
The upcoming PowerShell file uses ifconfig which is included in net-tools.
wsl --exec sudo apt install net-tools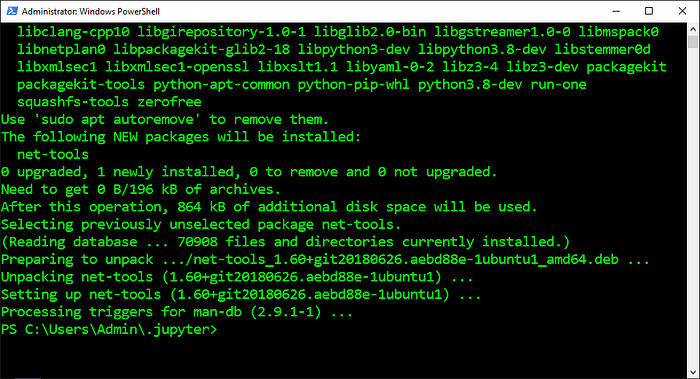
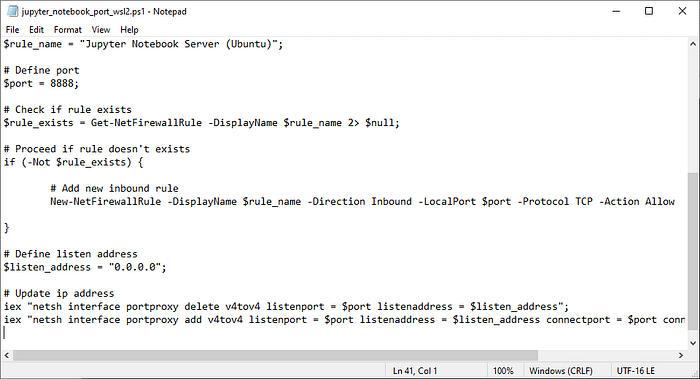
Create the PowerShell File:
- Copy the command from below these instructions
- Paste the command into PowerShell
- Press “Enter”
Set-Content jupyter_notebook_port_wsl2.ps1 "" -Encoding ASCII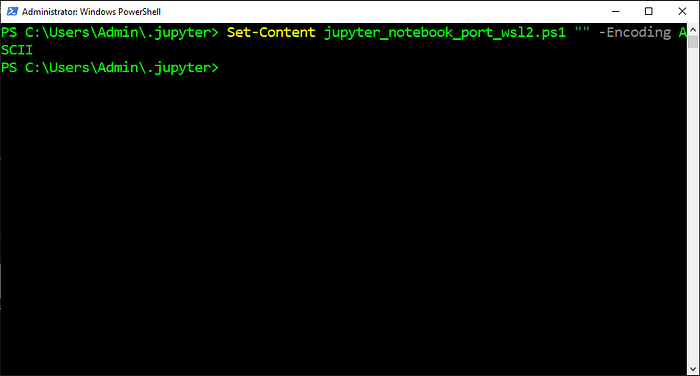
Open the PowerShell File:
- Copy the command from below these instructions
- Paste the command into PowerShell
- Press “Enter”
notepad jupyter_notebook_port_wsl2.ps1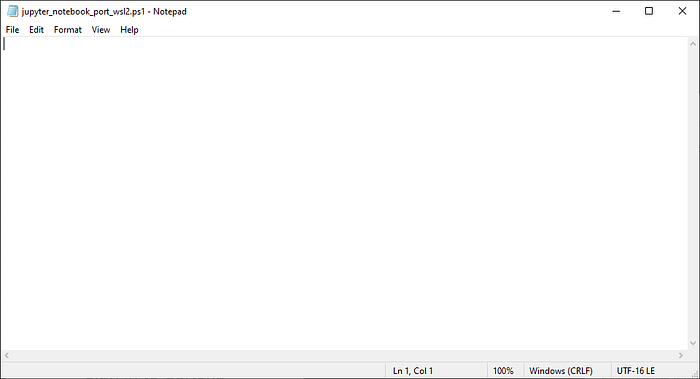
Edit the PowerShell File:
- Copy the script from below these instructions
- Paste the script into Notepad
- Click the “File” menu
- Click “Save”
Open Task Scheduler:
- Press “⊞ Windows”
- Enter “Task Scheduler” into the search bar
- Click “Task Scheduler”
Create the Task:
- Click “Create Basic Task” in the right panel
- Copy the name from below these instructions
- Paste the name into the “Name” text field
- Click “Next”
- Select “When the Computer Starts”
- Click “Next”
- Select “Start a Program”
- Click “Next”
Jupyter Notebook Port (WSL2)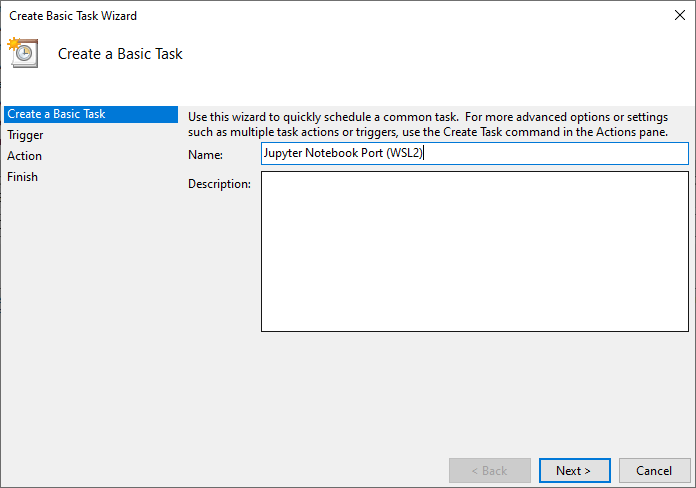
Specify the Action:
- Copy the path from below these instructions
- Paste the path into the “Program/Script” text field
- Click “Next”
- Click “Yes”
- Check “Open the Properties Dialog…”
- Click “Finish”
powershell.exe -File %userprofile%\.jupyter\jupyter_notebook_port_wsl2.ps1
Specify the Trigger:
- Click “Triggers” in the top tab bar
- Click “At Startup”
- Click “Edit”
- Check “Delay Task For”
- Enter “30 Seconds”
- Click “OK”
Run the Task in the Background:
Click “General” in the tab bar
- Select “Run Whether User Is Logged On or Not”
- Check “Run With Highest Privileges”

Remove the Time Limit:
- Click “Settings” in the tab bar
- Uncheck “Stop the Task if It Runs Longer Than”
- Click “OK”
- Restart the computer
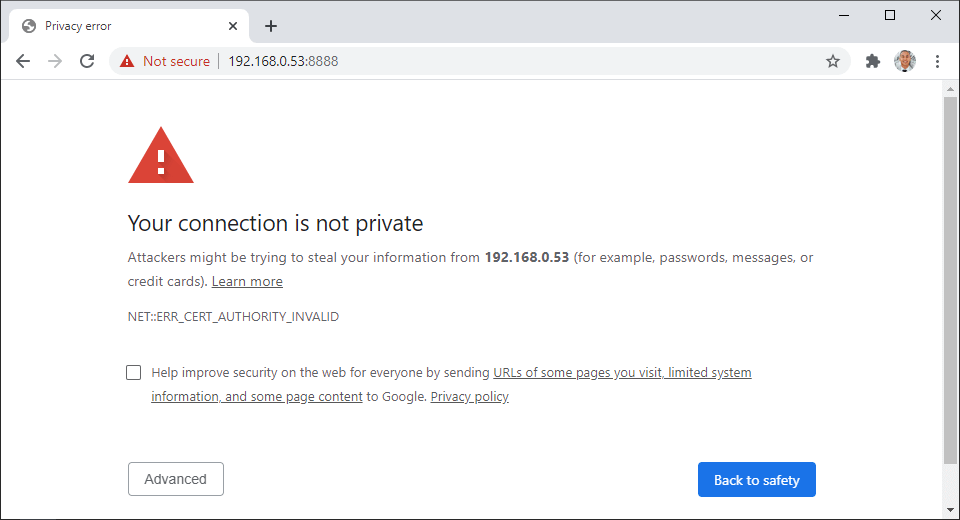
Access the Server From the Local Network:
- Log into a different computer or laptop
- Connect to the same WiFi network
- Enter the IPv4 Address into the web browser
- Prepend “https://” to the IP address
- Append “8888” to the IP address
- Press “Enter”
- Type “thisisunsafe”
- Enter the password
- Click “Log In”
Get the Public IP Address:
- Copy the URL from below these instructions
- Paste the URL into the web browser
- Write down the public IP address
https://www.google.com/search?q=whatsmyip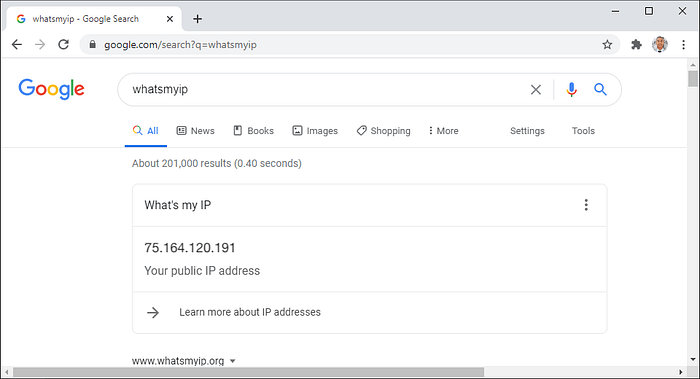
Access the Server From a Remote Network:
- Log into a different computer or laptop
- Connect to a different WiFi network
- Enter the public IP address into the web browser
- Prepend “https://” to the IP address
- Append “8888” to the IP address
- Press “Enter”
- Type “thisisunsafe”
- Enter the password
- Click “Log In”

Next Steps:
This article is part of a mini-series that helps readers set up everything they need to start using WSL2 for artificial intelligence, machine learning, deep learning, and or data science. It includes articles that contain instructions with copy and paste code and screenshots that help readers get the outcome as soon as possible. It also includes articles that contain instructions with explanations and screenshots that help readers process what’s happening.
01. Install Windows Subsystem for Linux 2 (WSL2)
02. Install the NVIDIA CUDA Driver and Toolkit in WSL2
03. Install Software From Source Code in WSL2
04. Install the Jupyter Notebook Home and Public Server in WSL2
05. Install Virtual Environments in Jupyter Notebook in WSL2
06. Install Programs With a Graphical User Interface in WSL2
07. Install Ubuntu Desktop With a Graphical User Interface in WSL2
Hopefully, this article helped everyone get the prize. If you want to help out then hold the “👋” and click “Follow” to get more content. Thanks for reading!

